


How to create a Zendesk dashboard in Google Data Studio
Are you a Zendesk agent or administrator who would like to create his own dashboard in Google Data Studio to follow all your Zendesk tickets, tasks, questions or incidents? If yes, then you're at the good place! In this article, I will explain you how to easily create a free automated Zendesk dashboard for Google Data Studio in just a few steps.
Prepare your Google Data Studio dashboard data source
There are a multitude of connectors available in Google Data Studio that can allow you to easily access your data source. Unfortunately, I couldn't find one free in the partners connectors library for Zendesk so here is a method to create your own data source based on Zendesk data.
Check the article Creating a Google App to receive data and add it to a Google Sheet
Setting up Zendesk to send data to feed your Google Data Studio dashboard
Create a webhook in Zendesk
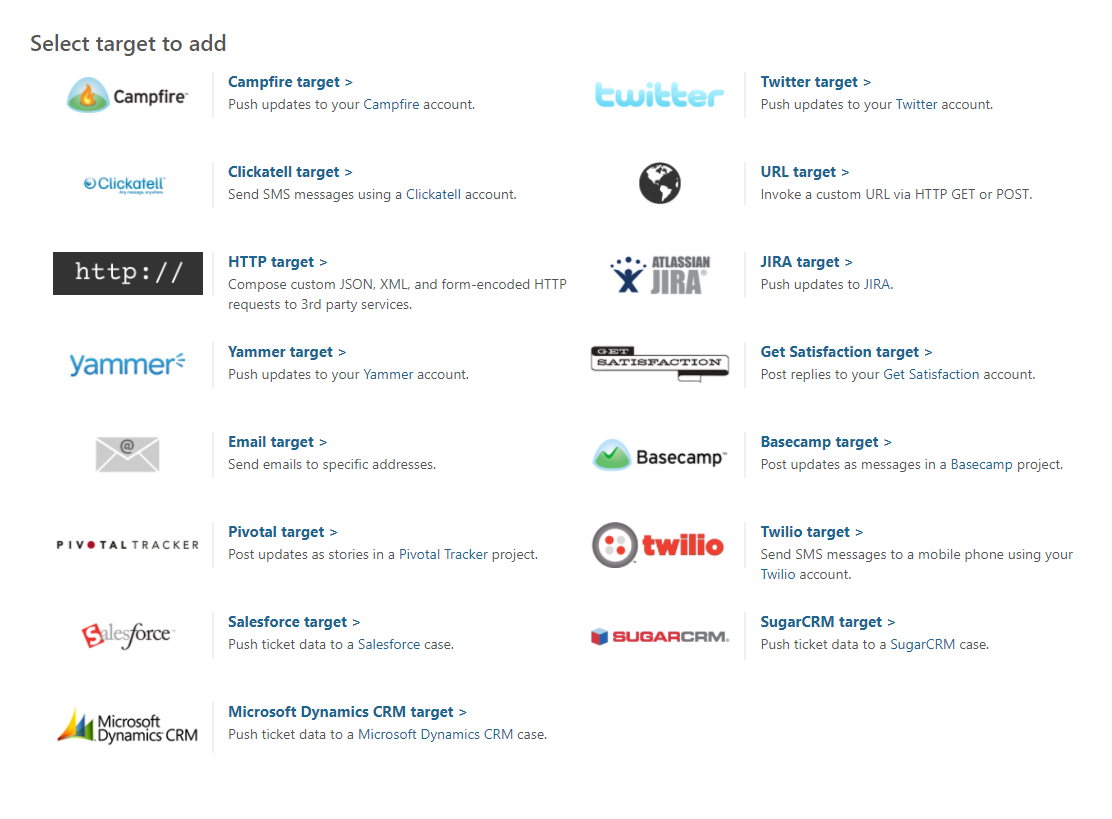
After you have logged into your Zendesk instance, go to the page "Settings > Extensions" from the main menu and click on the "add target" link on the right.

Click on the option "URL target".
Give a name to your URL target, and indicate the url of your Google App. At the end of your url, add the following parameters:
?Type={{ticket.ticket_type}}&Status={{ticket.status}}&Description={{ticket.description}}&Subject={{ticket.title}}&Assignee={{ticket.assignee.name}}&Group={{ticket.group.name}}&Priority={{ticket.priority}}
Put "GET" method and put whatever you want for the attribute name. You can leave the credentials empty.

Before saving the target, do not hesitate to test it ;)
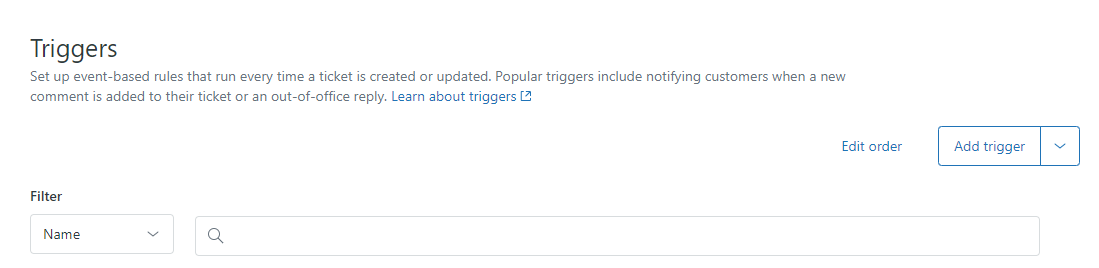
Create a trigger in Zendesk to activate the webhook
Now that we have setup the webhook that will send the data to our Google App, we need to create in Zendesk the trigger that will activate this webhook.
On the main menu, click on "Business rules > Triggers", then click on the "Add trigger" button.
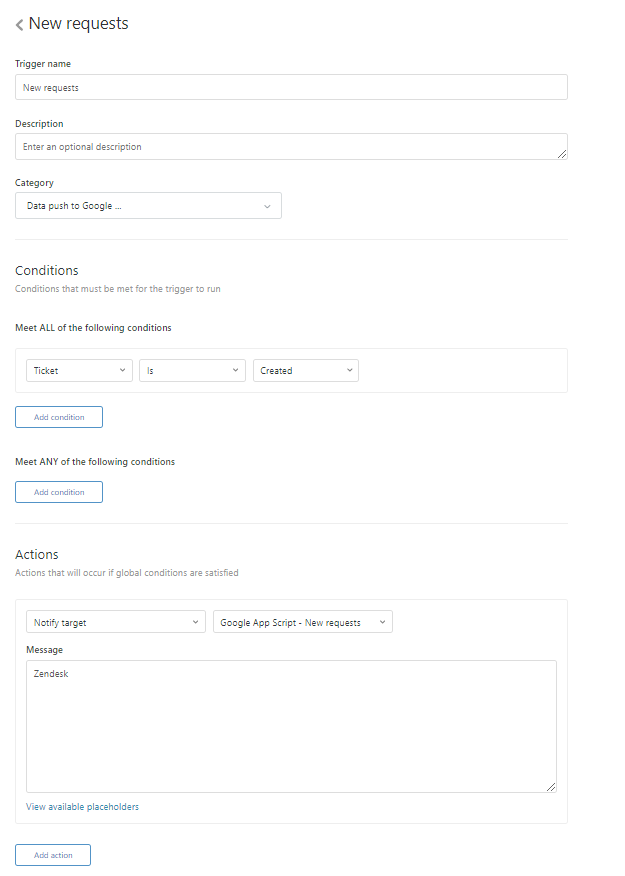
Give a name to your trigger, give it a description if you want and assign it to a "category" (you can create a new category directly from this page).
For the conditions, let say that we want Zendesk to send data to our Google App every time a new request is created, so put the condition "Ticket + is + Created" in the section "Meet ALL of the following conditions".
For the action, put "Notify target" and select the target you created previously.
Validate your trigger and you're done for the connexion between Zendesk and your Google Sheets!
You can now start testing that everything is working correctly before starting to look at your dashboard layout.
Creating the Zendesk dashboard in Google Data Studio
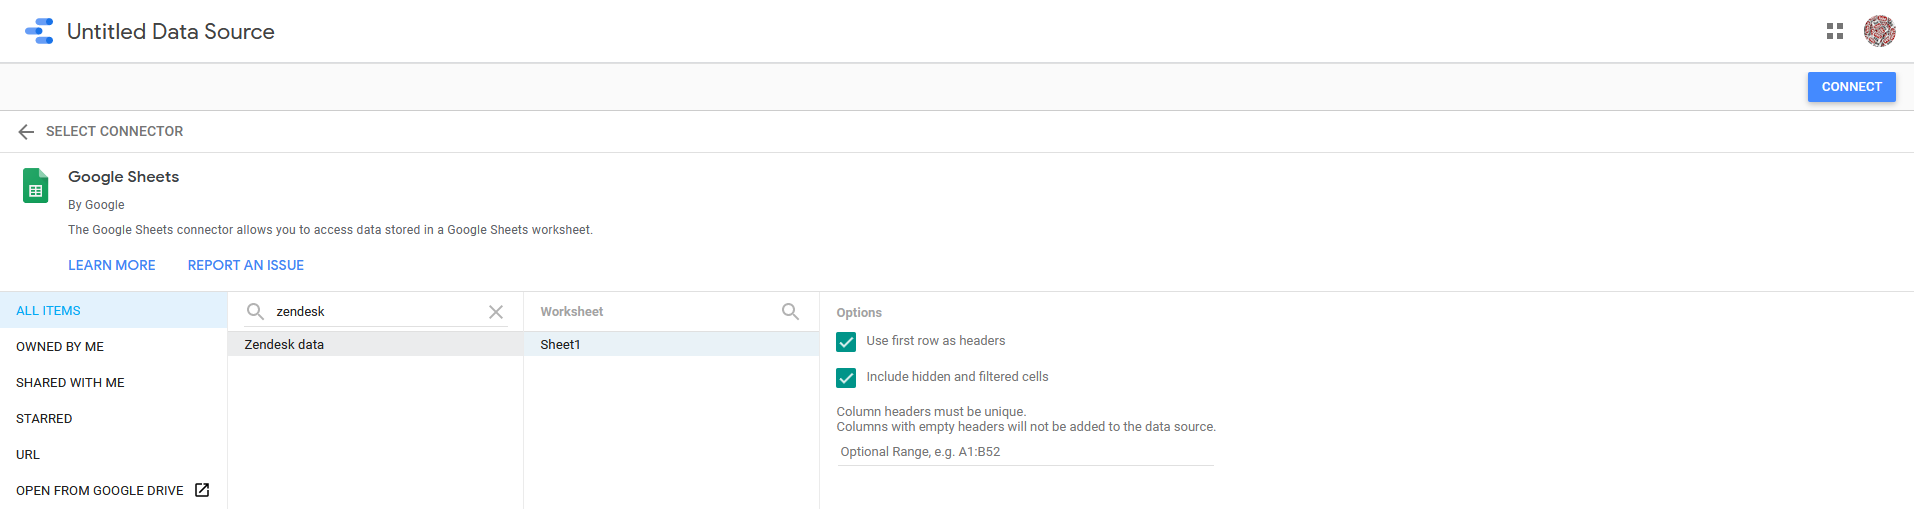
Go to Google Data Studio and click on "Create > Data source" on the top left corner.
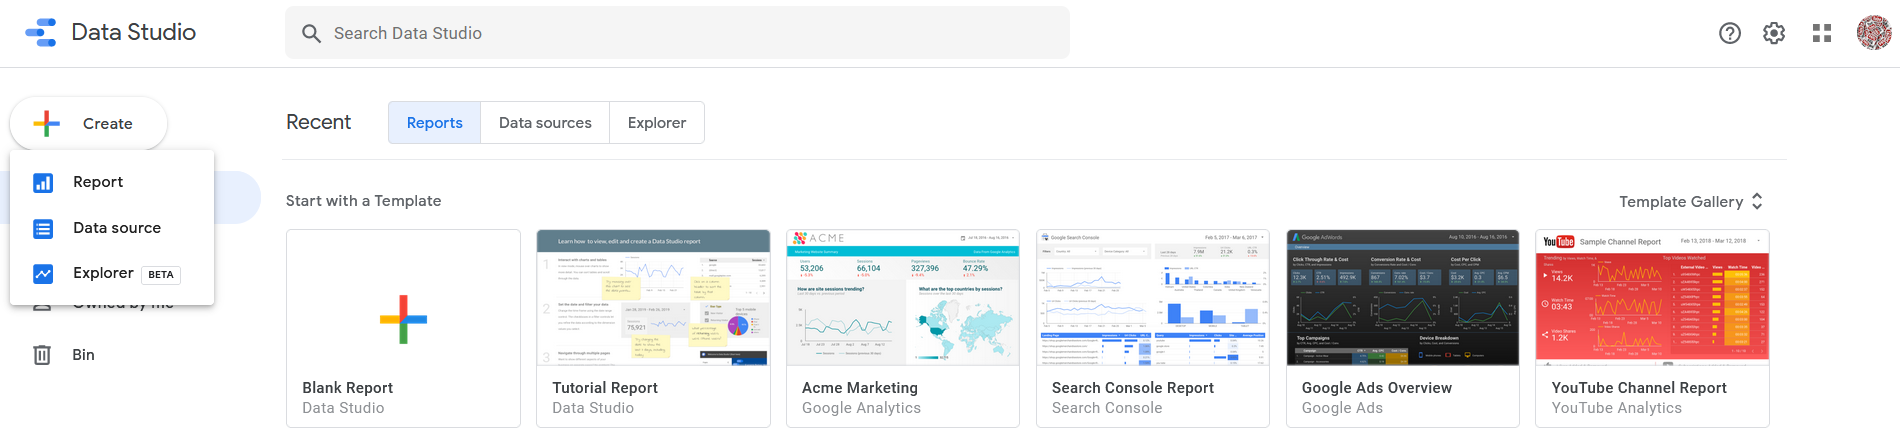
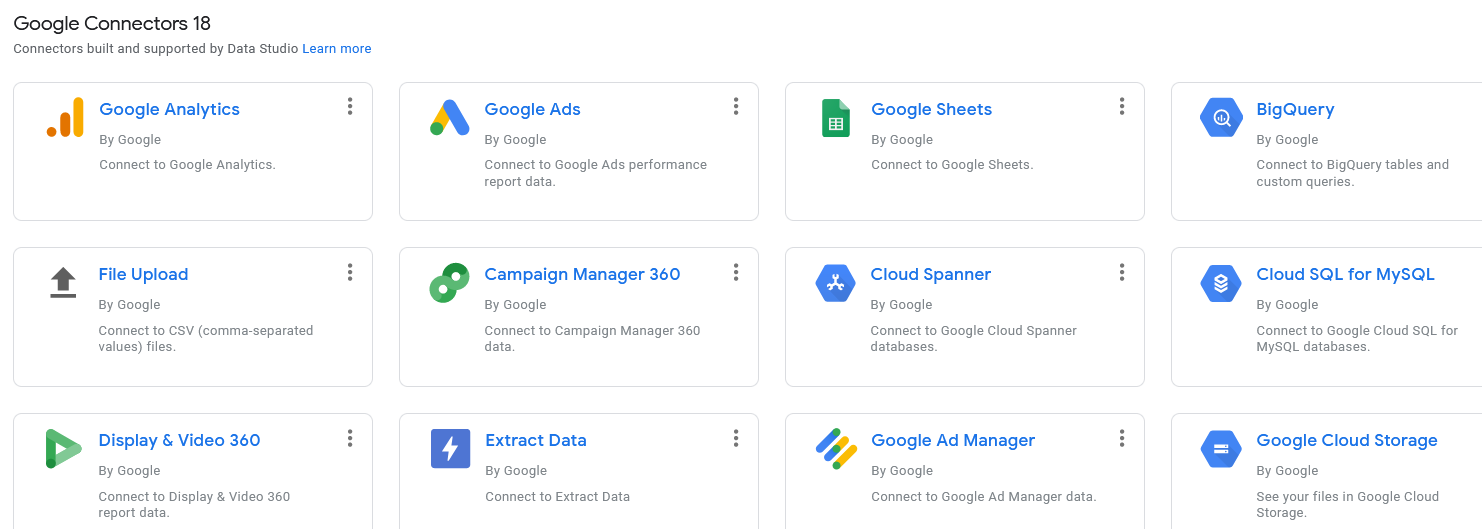
In the Google connectors list, select "Google Sheets".
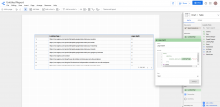
After selecting "ALL ITEMS" in the left column, search for your Google Sheets file in the list. After selecting it, select on which spreadsheet of your file the data is. Leave the 2 checkboxes ticked and click on the top right "Connect" button.
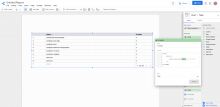
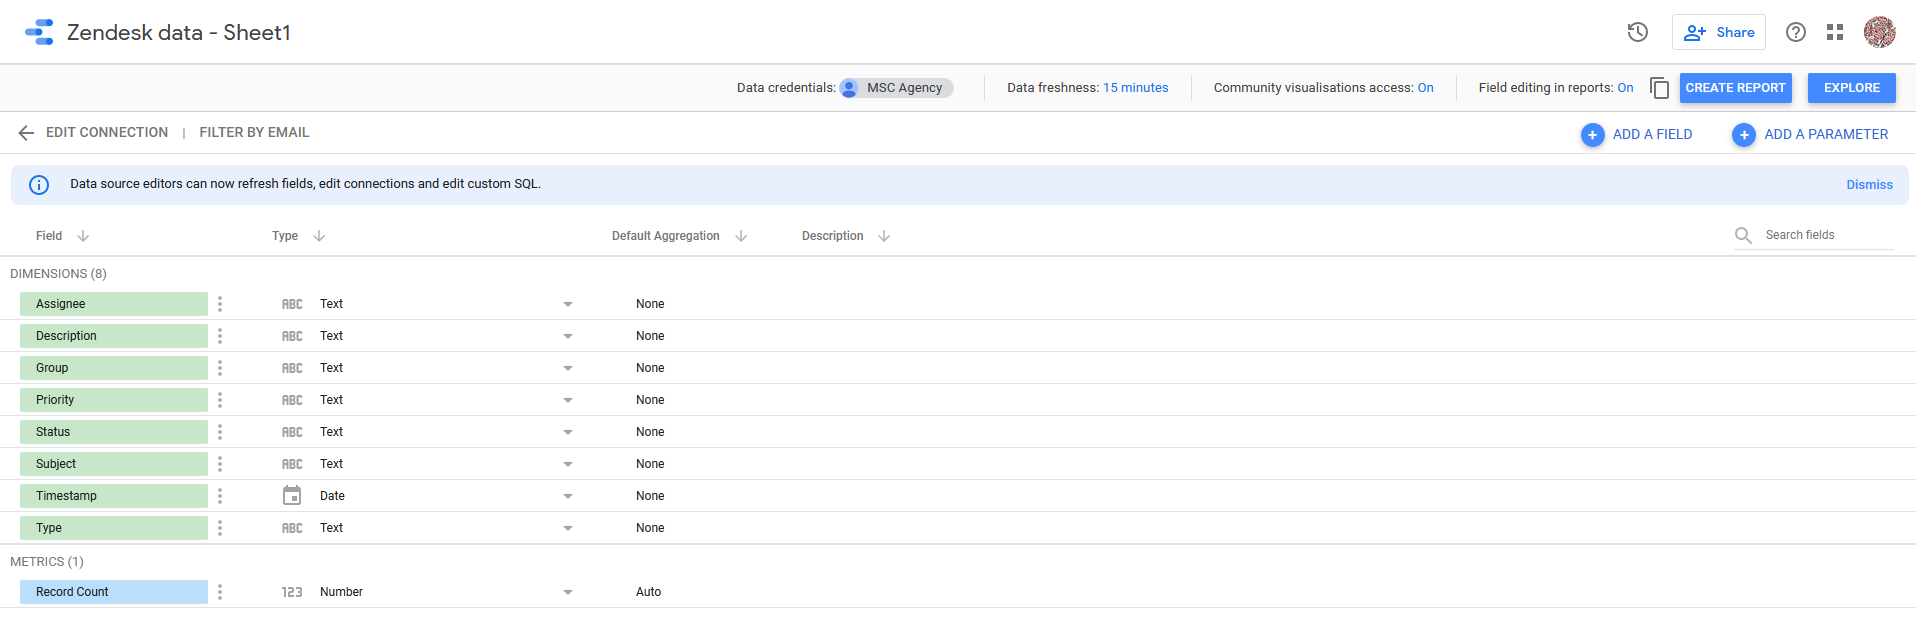
During the next step, you'll have to validate all your data source fields and eventually create your own calculated fields (based on other fields values). Once you have verified all the fields, click on the "CREATE REPORT" button on the top right corner.
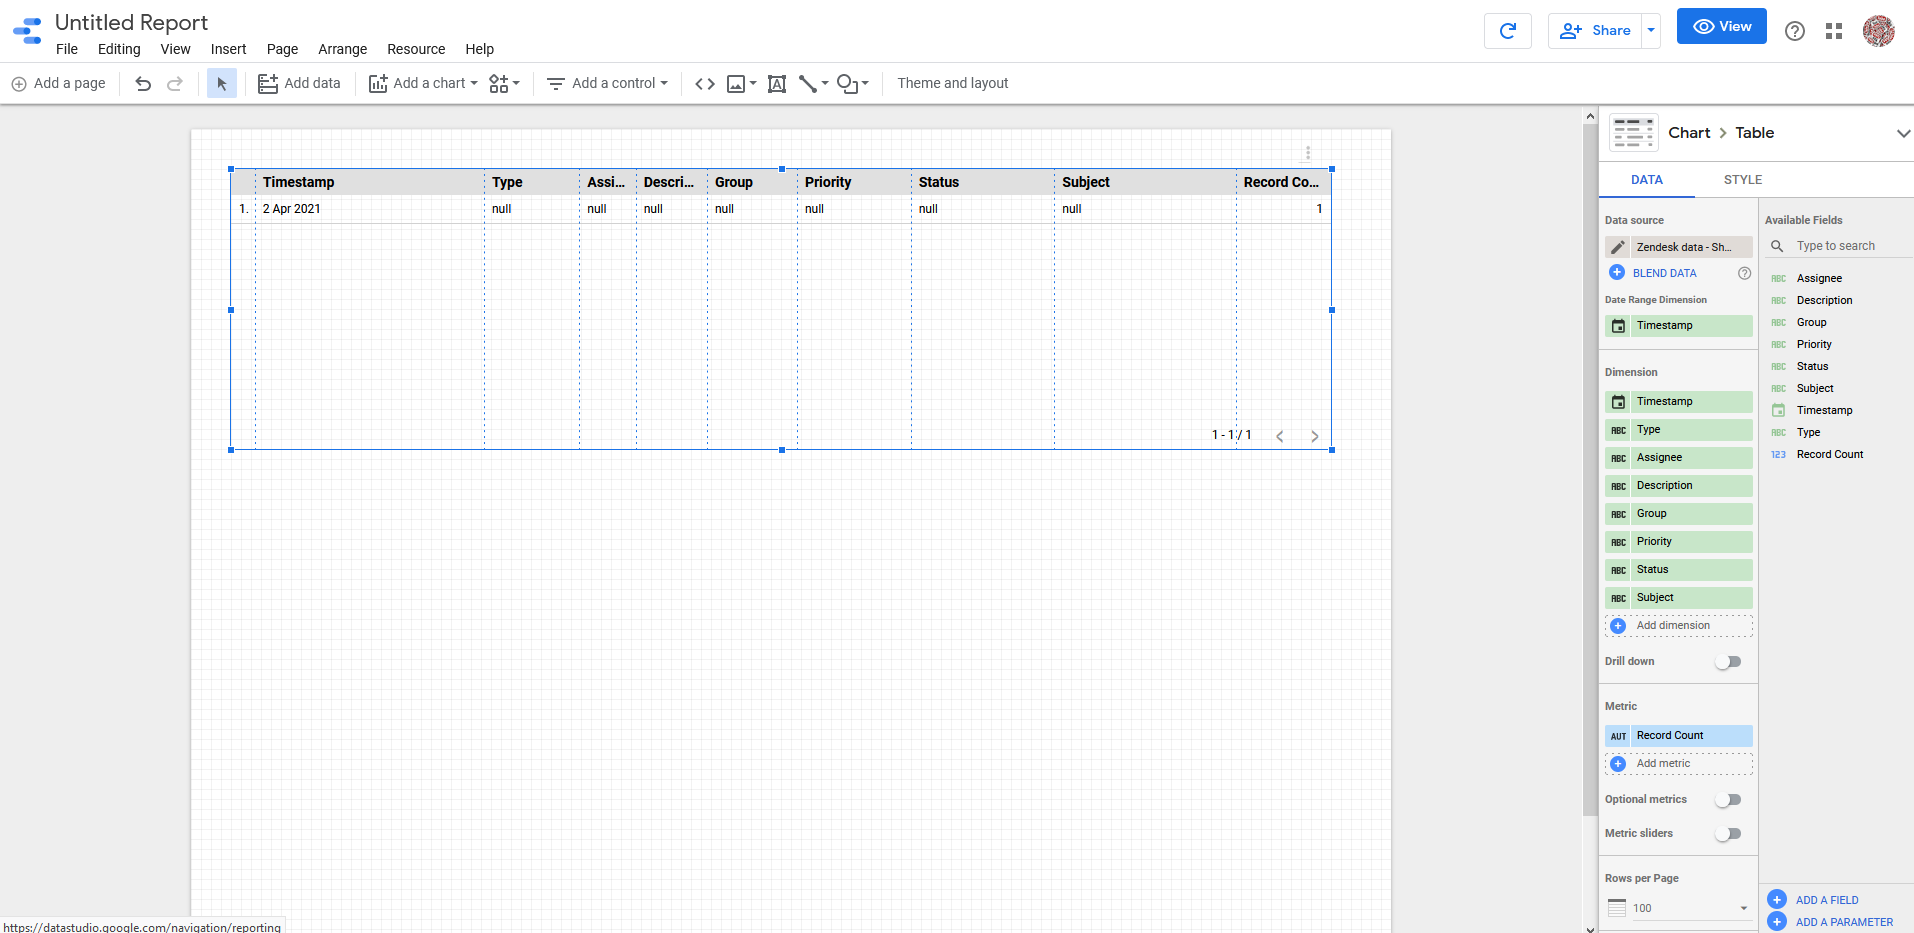
Once your new blank report opens, you will have to confirm you want to add your data source to your report. Click "ADD TO REPORT", and that's it: your Google Data Studio is now connected to your Zendesk instance for all new incoming requests!
What's next?
In this article, I've shown you how you could import the default Zendesk form fields, but it is possible to do much more! Here are some ideas if you want to improve your Google Data Studio dashboard for Zendesk.
Import more Zendesk fields in your data source
If you have created custom fields in Zendesk you would like to import in your Google Sheets data source, you just have to:
- put their label (ex: "workload") as header in a column of your Google Sheets file
- add them as parameter in the destination url of your webhook
=> here is the format of the parameters values you should use for custom fields:
{{ticket.ticket_field_ID}}
Ticket custom field. E.g, {{ticket.ticket_field_123}}.
{{ticket.ticket_field_option_title_ID}}
For drop-down custom fields, this yields the title of the drop-down value selected
(as opposed to the tag, which is what the previous placeholder)
Caution: in Google Sheets, the number of cells with a same sheet (that can contain various spreadsheets) is 20 millions. So if you think you will have more data than since in the future, you should split your data source in various Google Sheets and connect them using the "Ticket Id" as common key.
Note that when you are using "Blended Data" in your Google Data Studio report, you will be limited to 10 different data sources, each one being also limited to 10 fields. So you cannot have more than 100 fields in your Blended Data source.
Create more triggers in Zendesk to send more data to your Google Data Studio dashboard
In this article we have setup 1 trigger for all new incoming requests but you're not limited in terms of number of triggers so you could easily create other ones for the following actions/events: the ticket is updated, the ticket is solved, the satisfaction survey is completed...
Implement a nice design to your Google Data Studio dashboard for Zendesk
When you are done with all the setup of the data source, you can start focusing on the layout of your dashboard.
Google Data Studio provides many options to personalize your reports and make it fit to your Brand guidelines / standards.
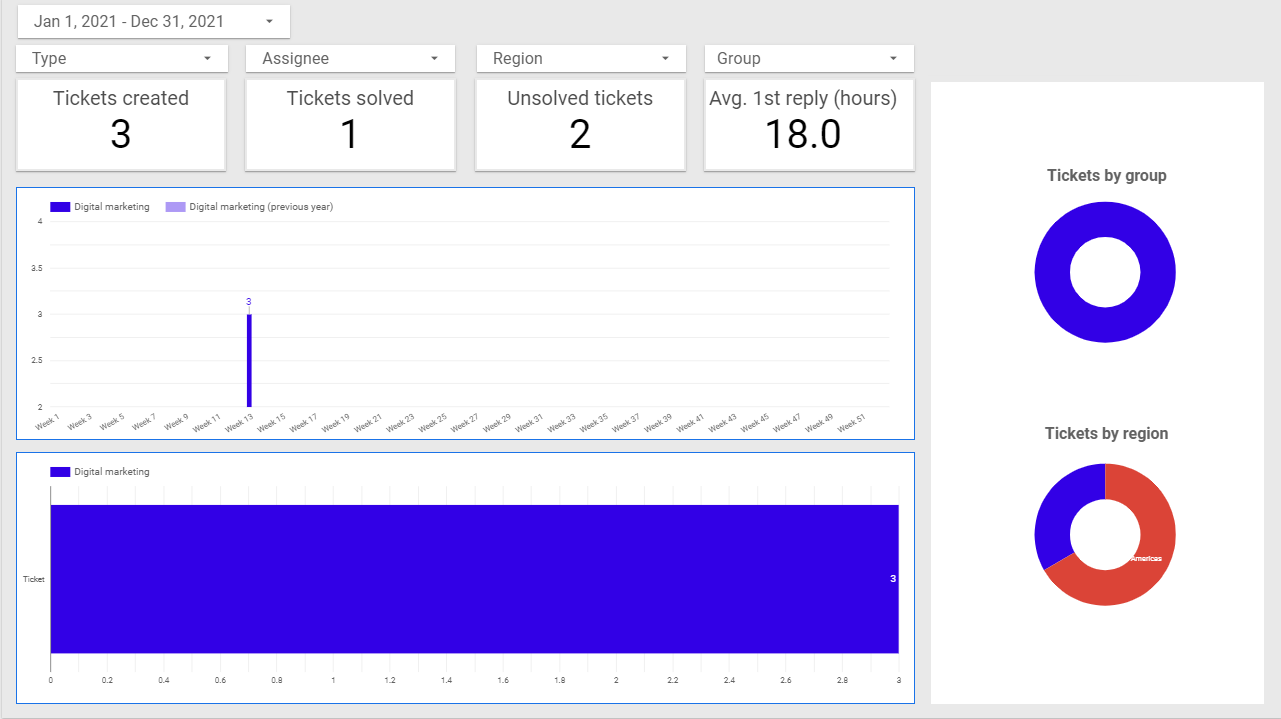
As an example, here is a light design that I realized for one of my clients.
Need help with your Zendesk dashboard?
If you face an issue with setting up your Google Data Studio dashboard for Zendesk, feel free to contact me! For more info, please check the list of services we provide or request a quote now!