


Displaying role-based contents in Drupal
When you own a website which is targeting different typographies of visitors (prospects, clients, employees, journalists, investors...), it can be useful to display contents based on the visitor role.
In this article, we'll present you 3 methods to display role-based contents in Drupal.
Displaying role-based contents in a WYSIWYG
If you want to display specific content only to a specific / various roles on your content pages, you can use the below method as long as your content type includes a WYSIWYG field in which you can do as follow.
- create a hidden <div> block containing the visitor role(s)
- create an empty <div> that will be populated with your personnalized content
- create a javascript variable containing your html (personnalized content)
- update the empty <div> if the visitor has the correct role
Html / jQuery code example
Note: you need to have a jQuery library added on your page to have the below code working.
<div id="role_based_content"></div>
<div id="roles" class="hideMe">anonymous</div><script>
var roles = $("#roles").text();if(roles.includes("My Super Role")){
var specific_content = '<p>You are <strong>great!</strong></p>';
$("#role_based_content").html(specific_content);
}</script>
<style>
.hideMe {display: none;}
</style>
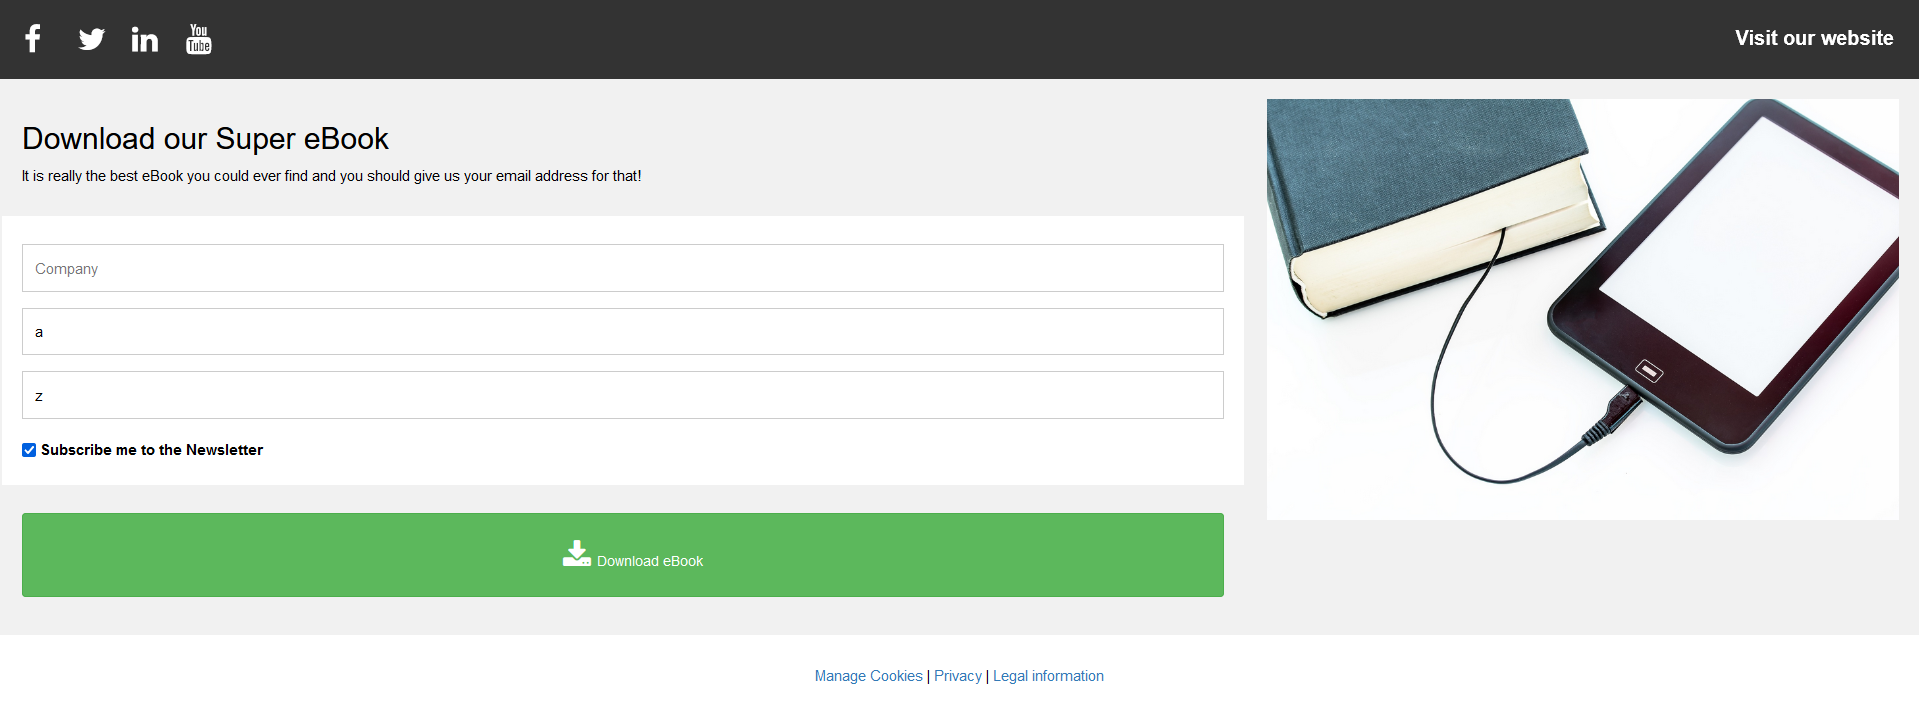
Displaying role-based contents on a webform
If you want to display specific content only to a specific / various roles on your webforms, you can use the below methods.
Add a WYSIWYG element to your form
Add a "Advanced HTML/text" field to your form.
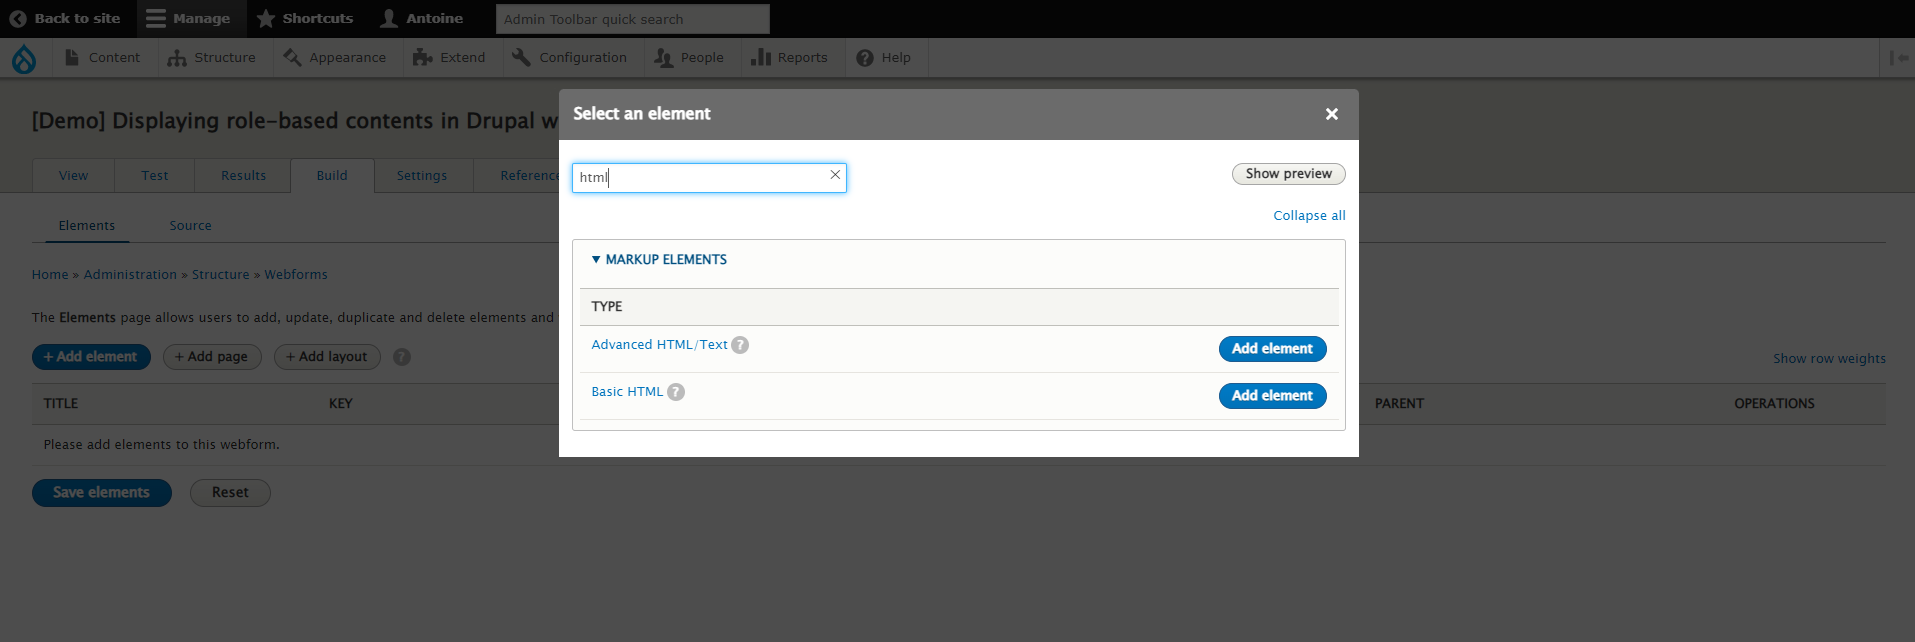
Select the format "Full HTML" (drop-down below the WYSIWYG) and do the steps explained on the first part of this article.
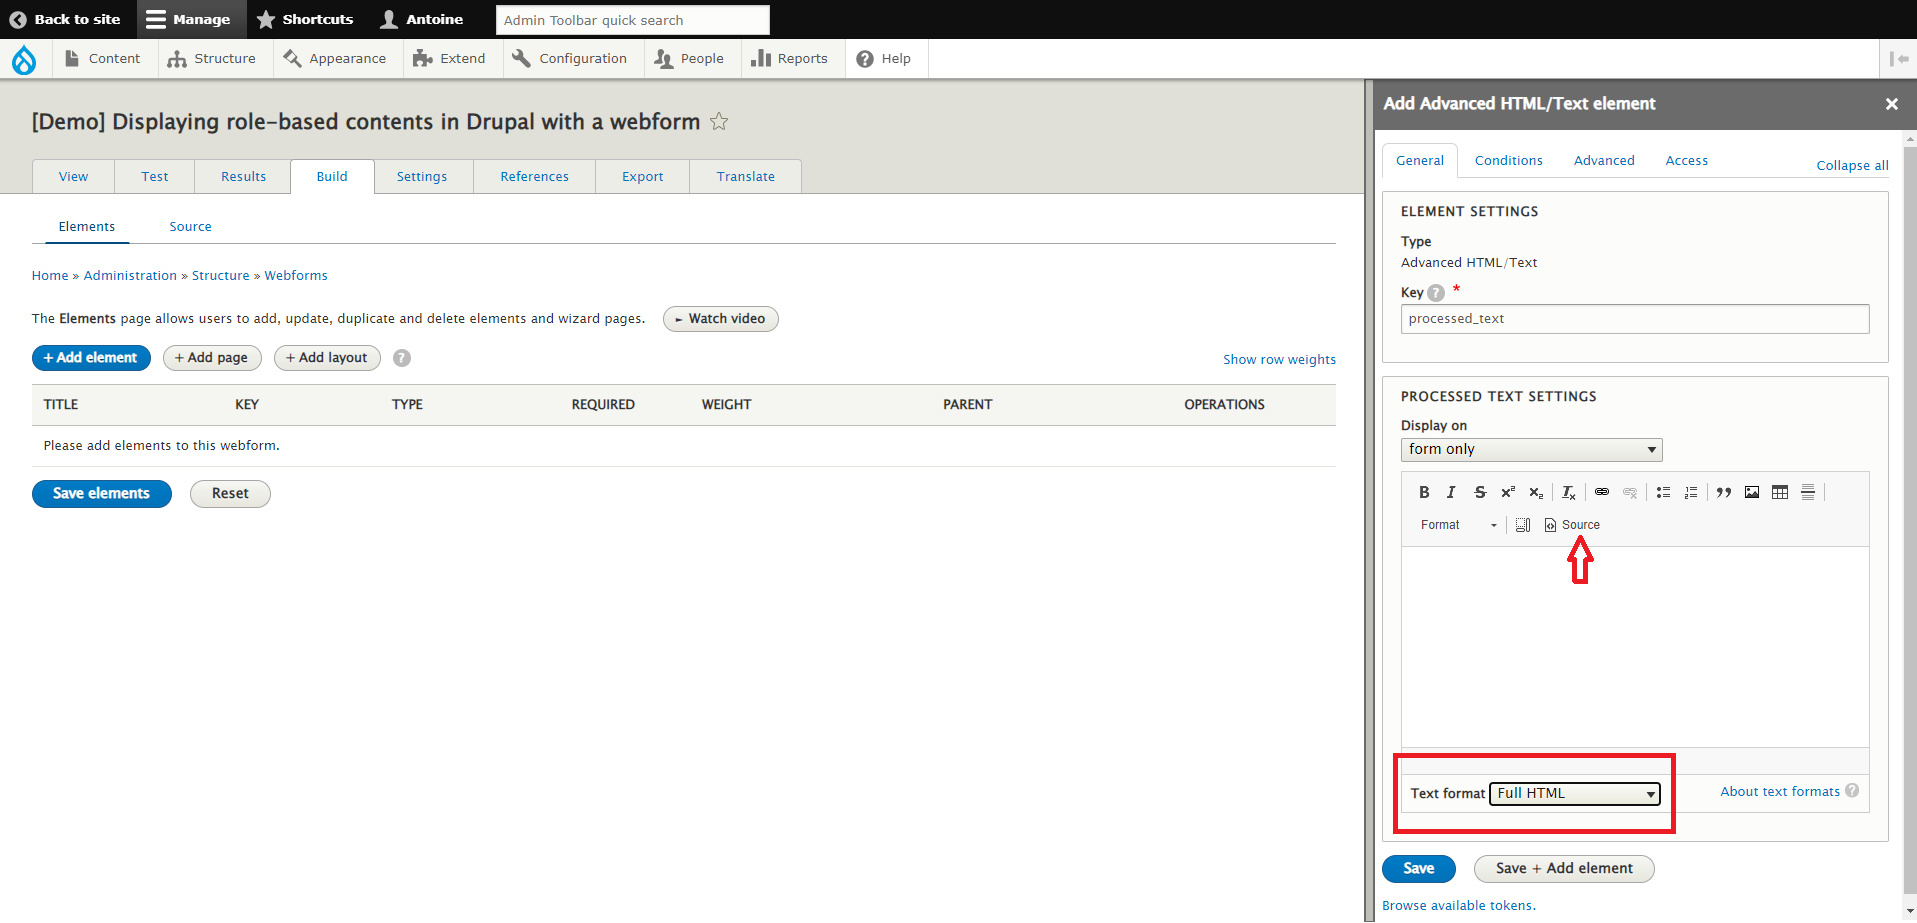
After updating the code provided previously to adapt it to your roles / contents, paste it in the WYSIWYG (click on "source" picto and paste the code).
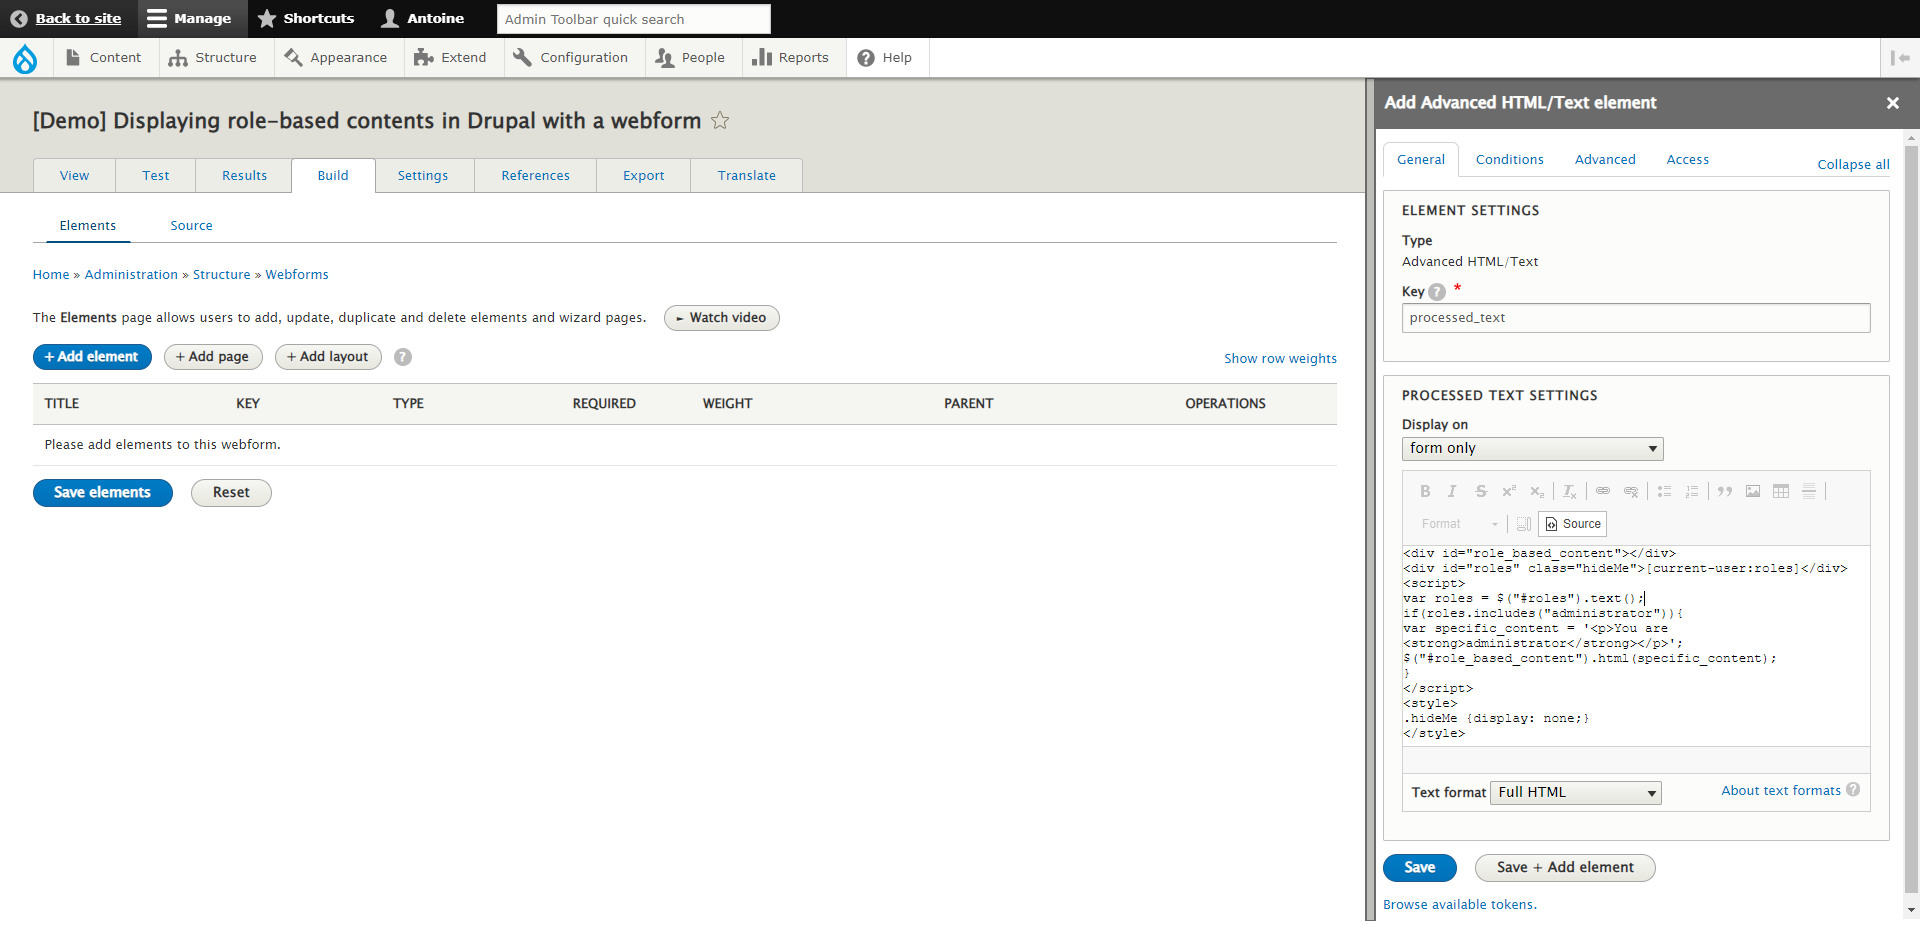
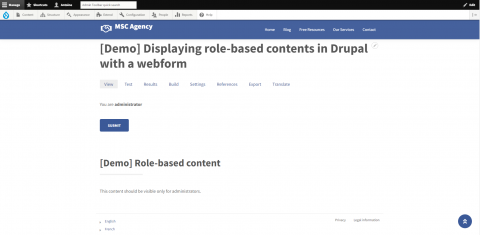
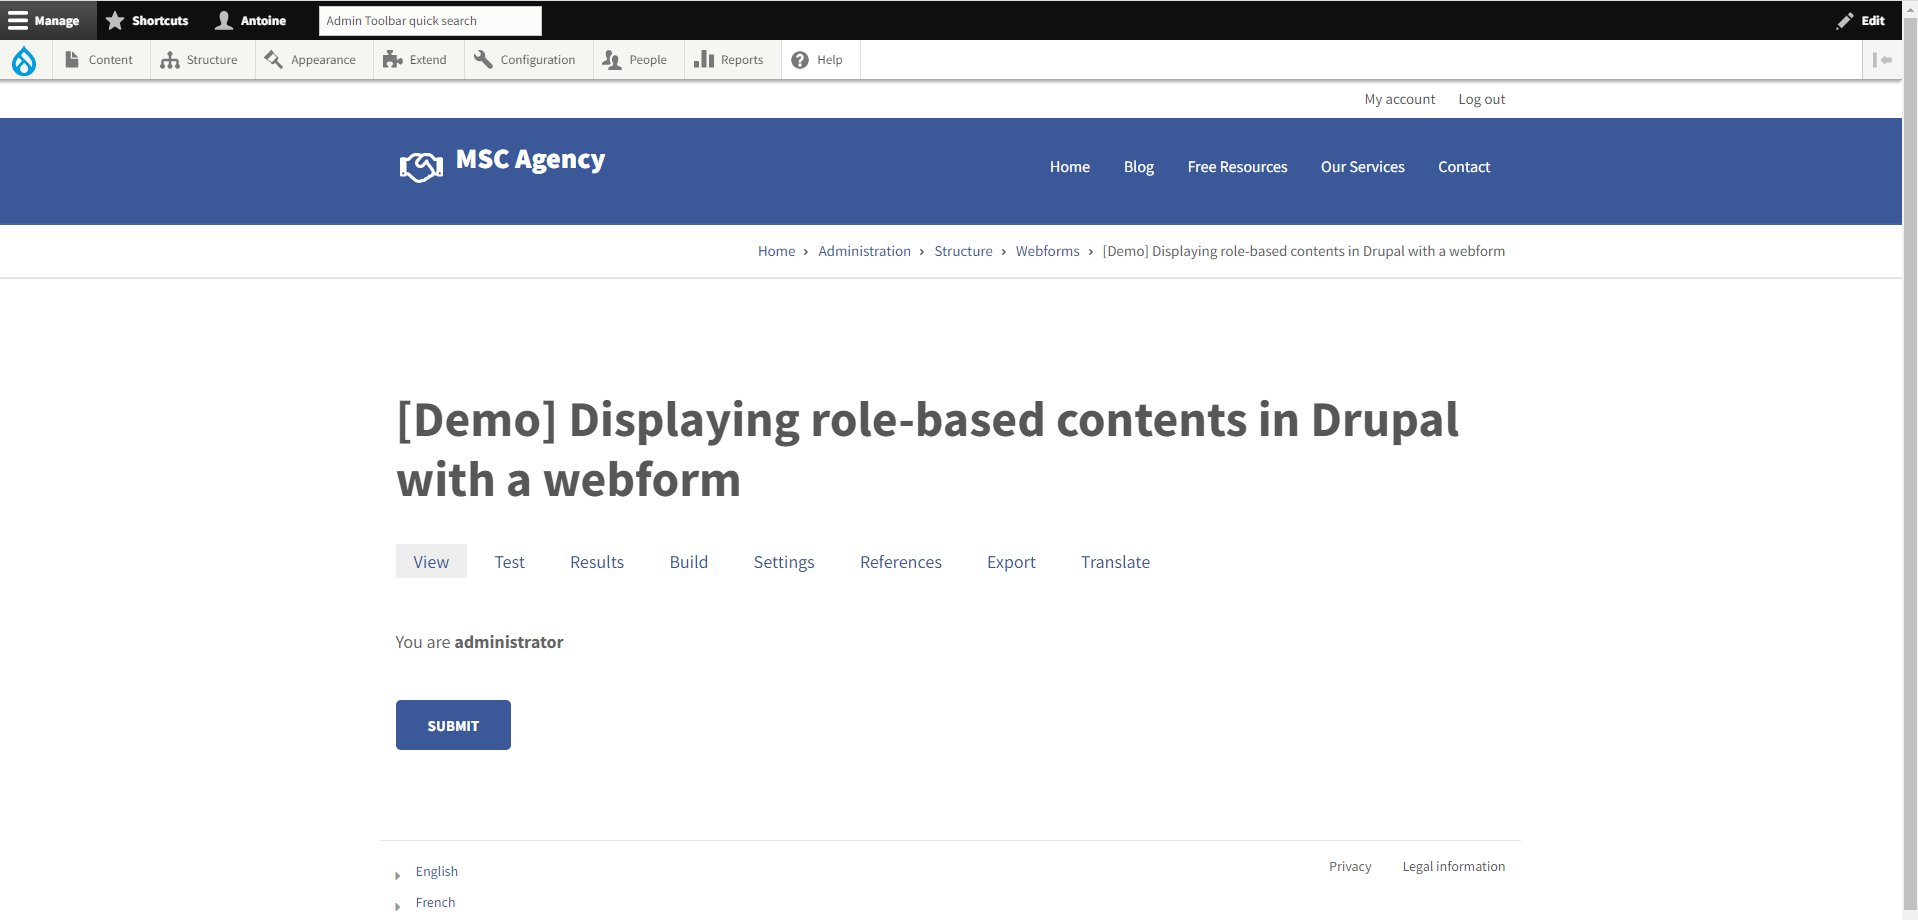
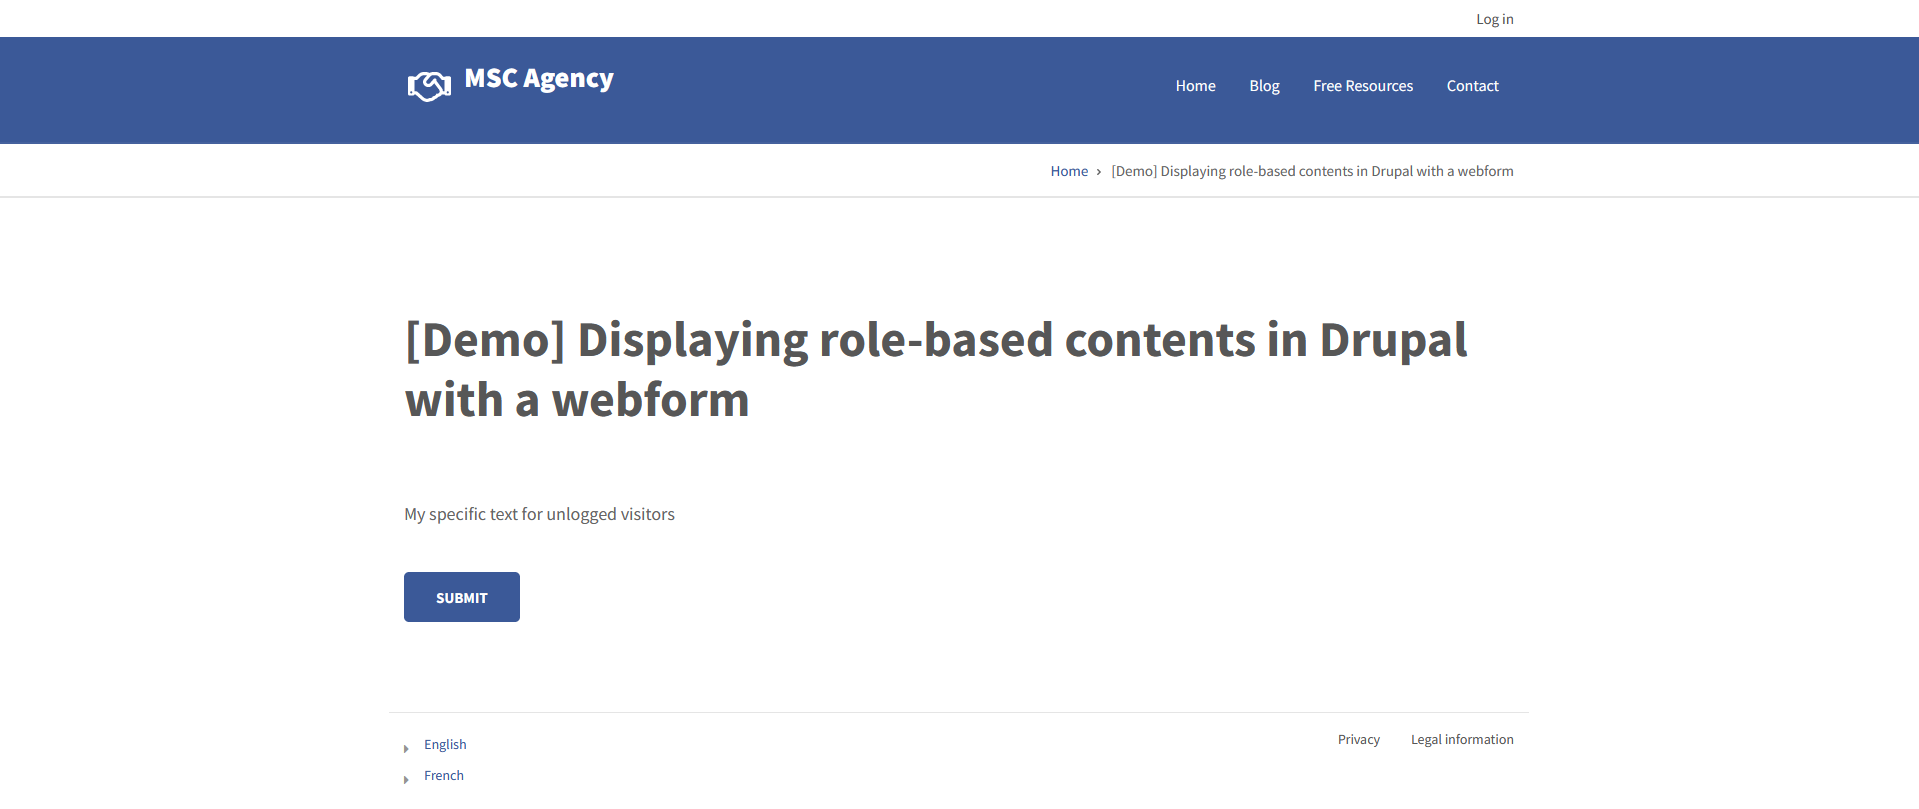
Only people with the role(s) you added in the previous code will see the content. For the visitors who don't have the correct role, it will just be blank.
Use the fields' "Access" tab
As you are using a webform, you have the possibility to setup access rights directly on the element/field level so the whole field/content would only be accessible to the roles you selected.
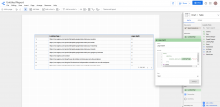
After adding the field (any type) to your form, edit it and click the "Access" tab.
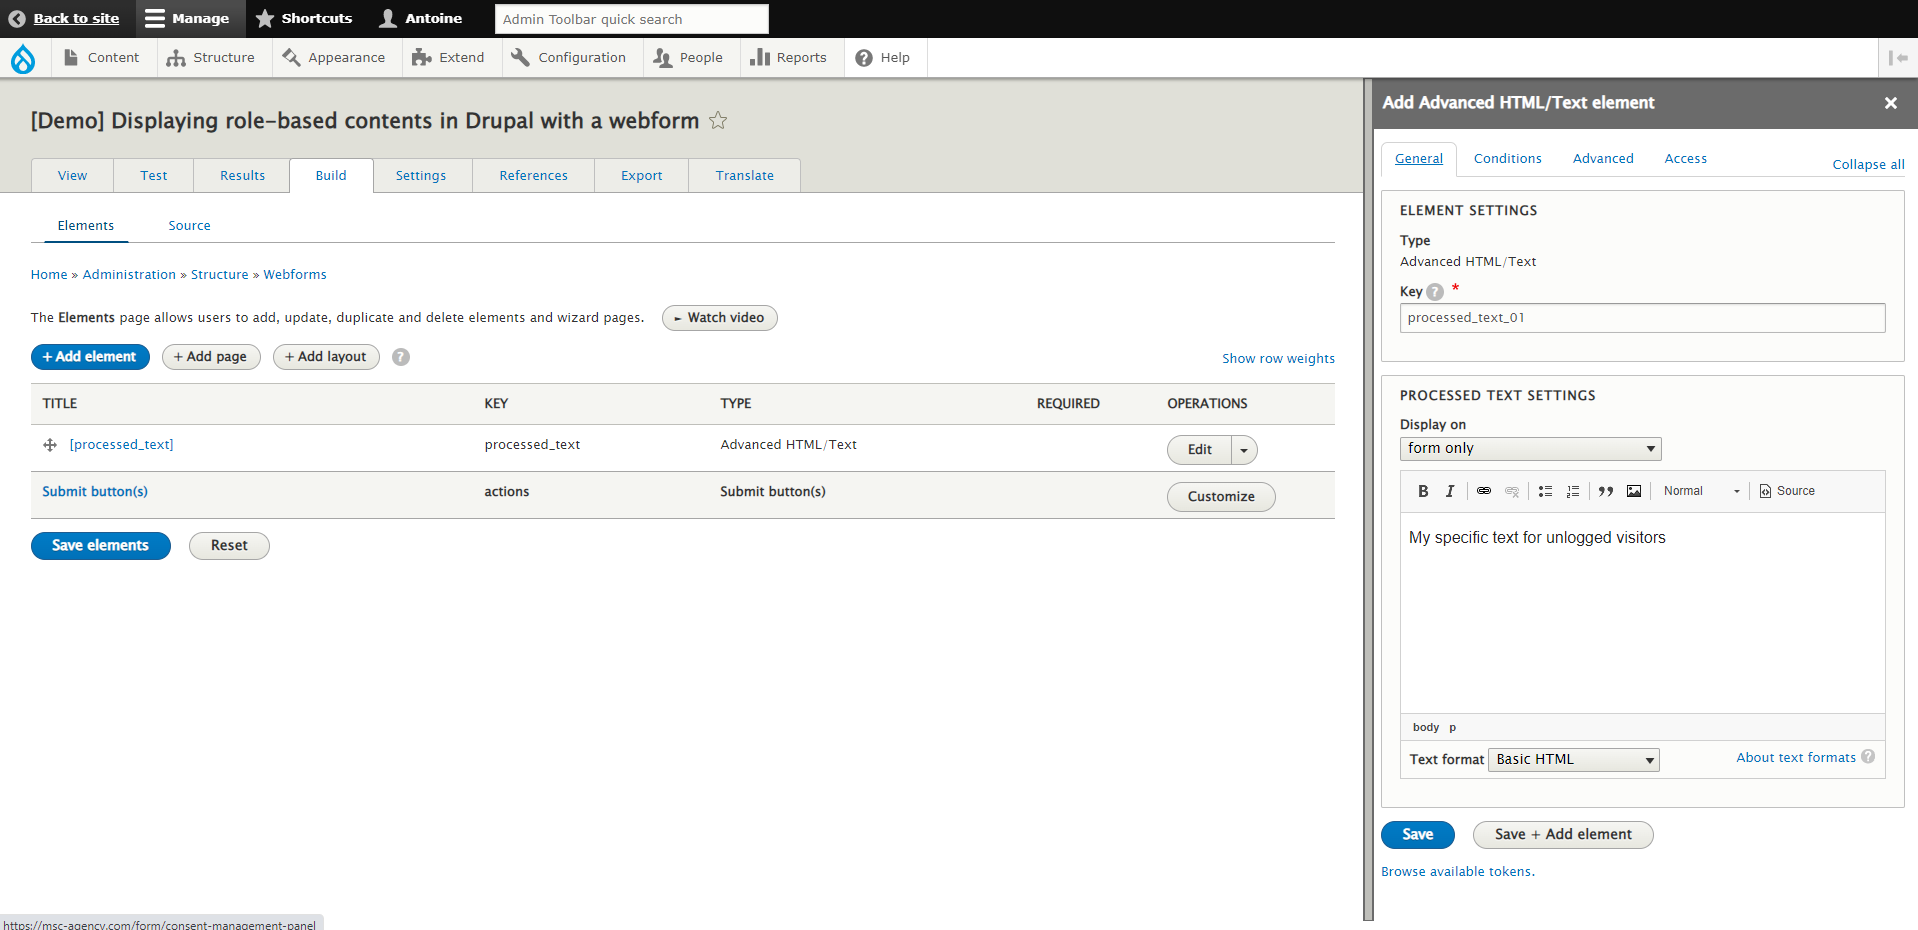
Tick only the checkboxe(s) corresponding to the role(s) that should see the element.
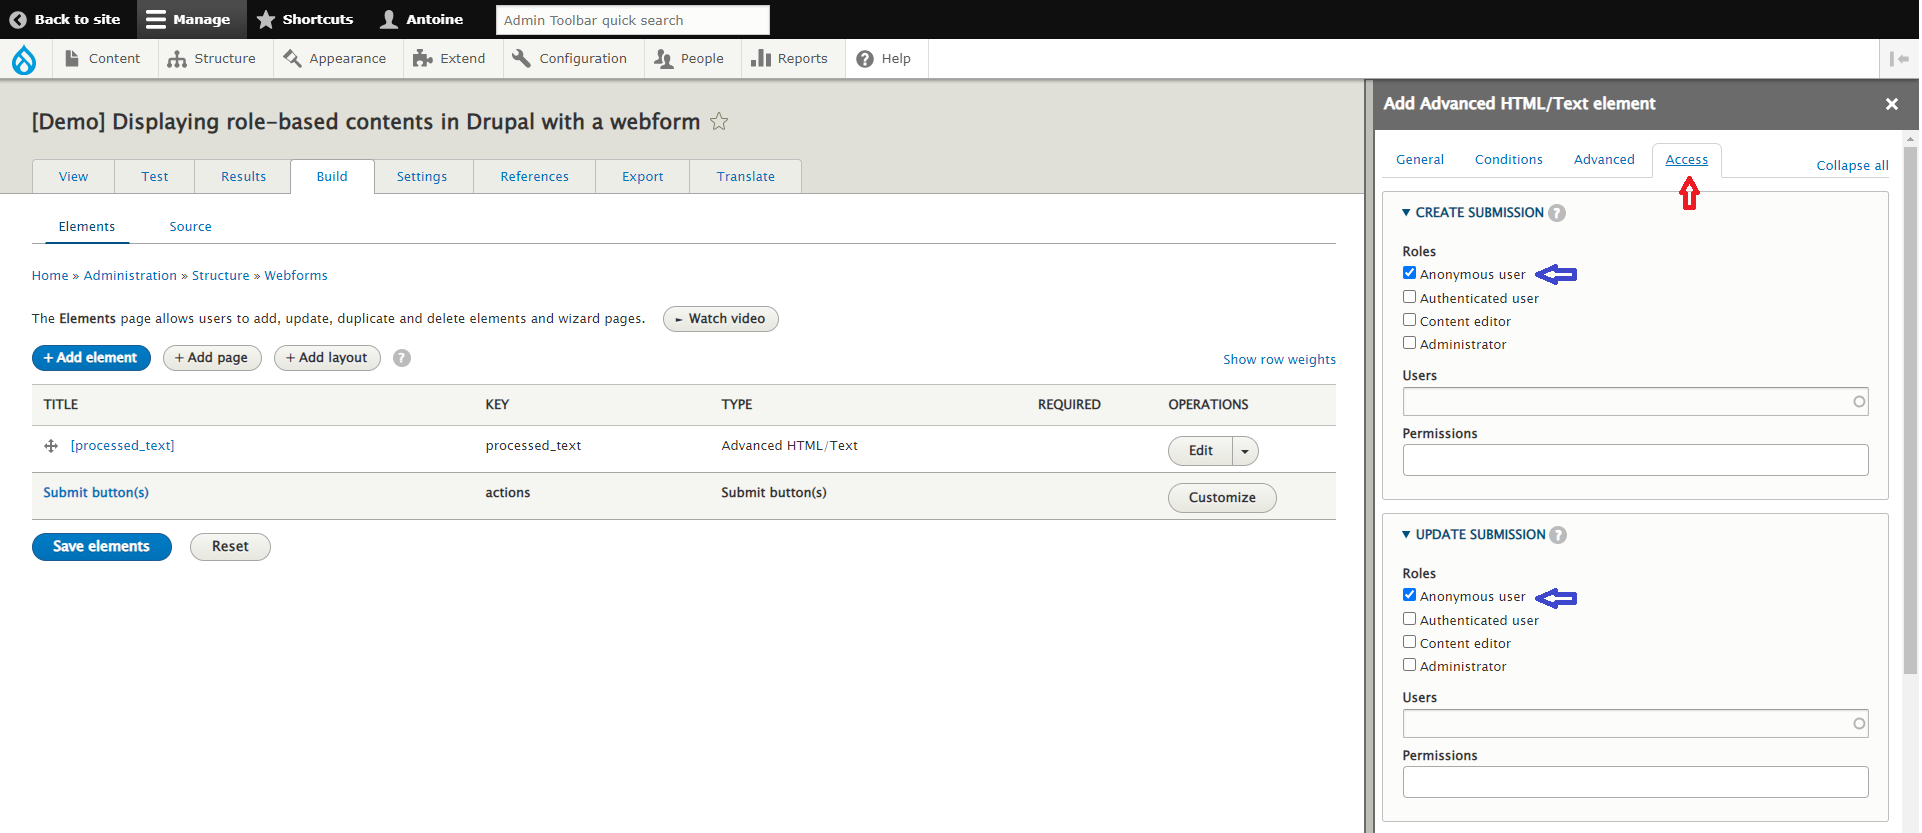
Your element/content should only be visibe to the role(s) you have selected.
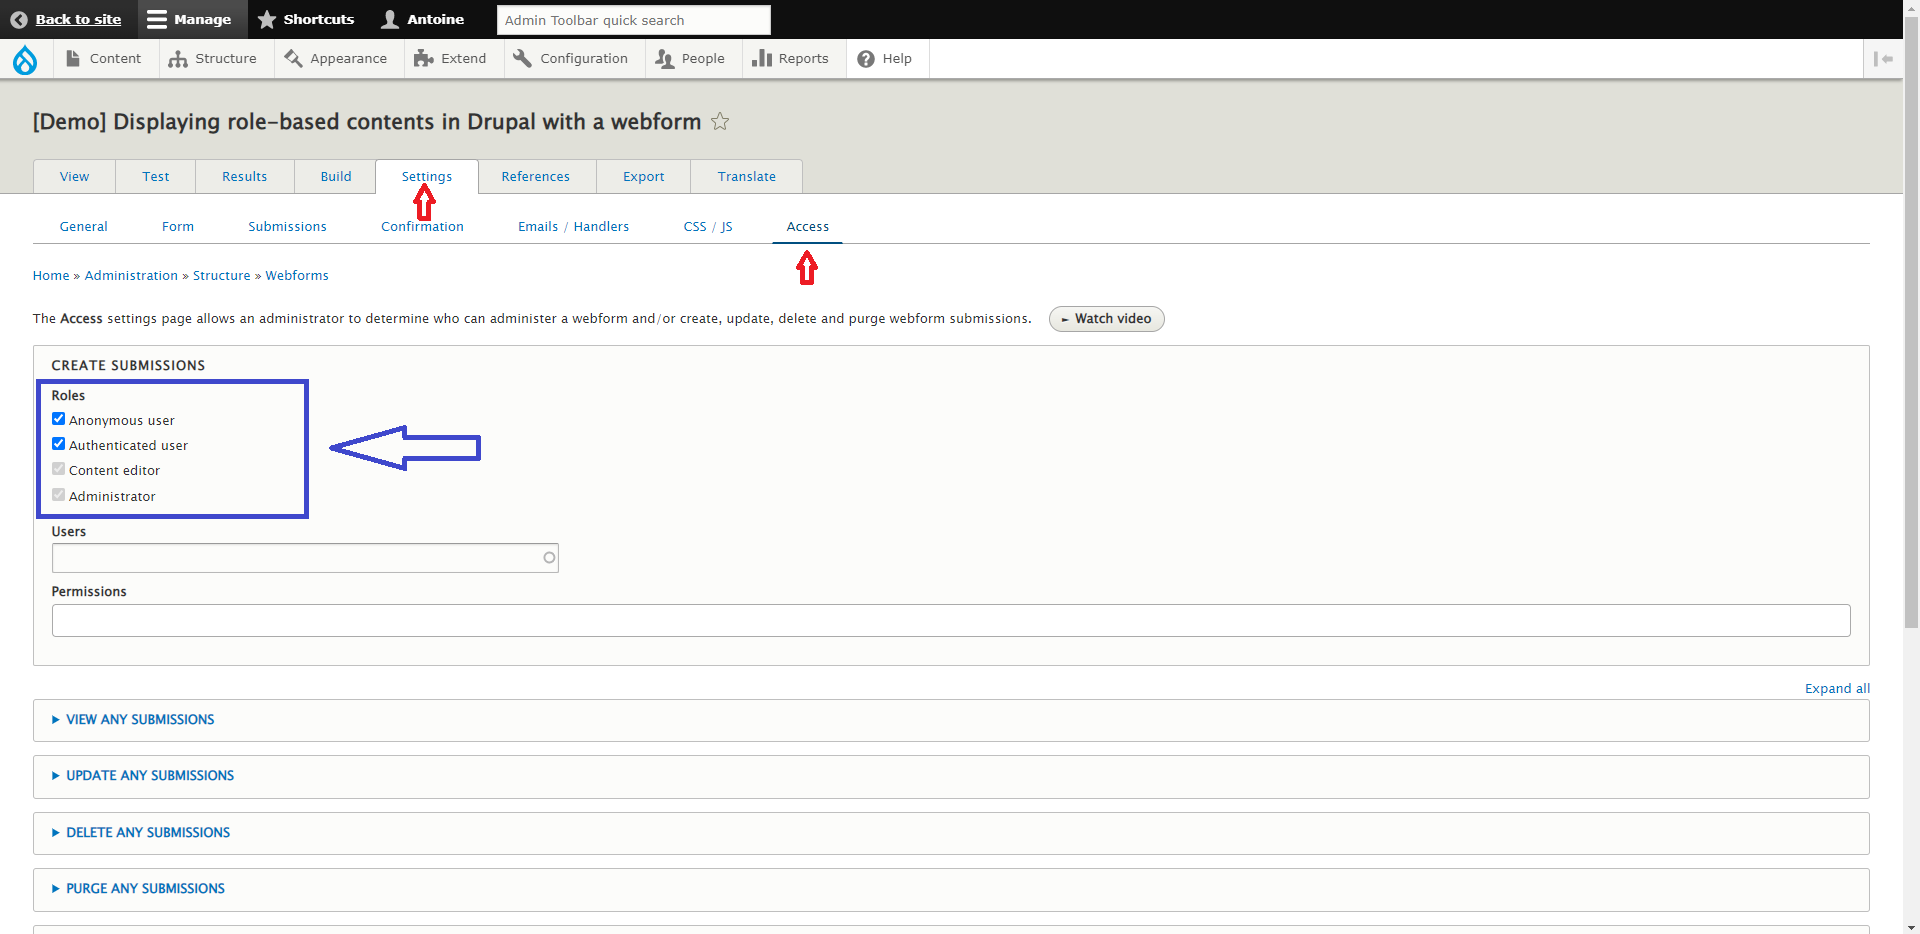
Use the form's "Access" tab
It is possible, as with a field, to apply access restrictions to a whole webform, so all visitors without the correct role(s) would see a "403 Access denied" message.
To do so, edit your form, and on the "Settings" tab, click on the link "Access" and select which role(s) should be able to access the form.
By default, all roles are selected.
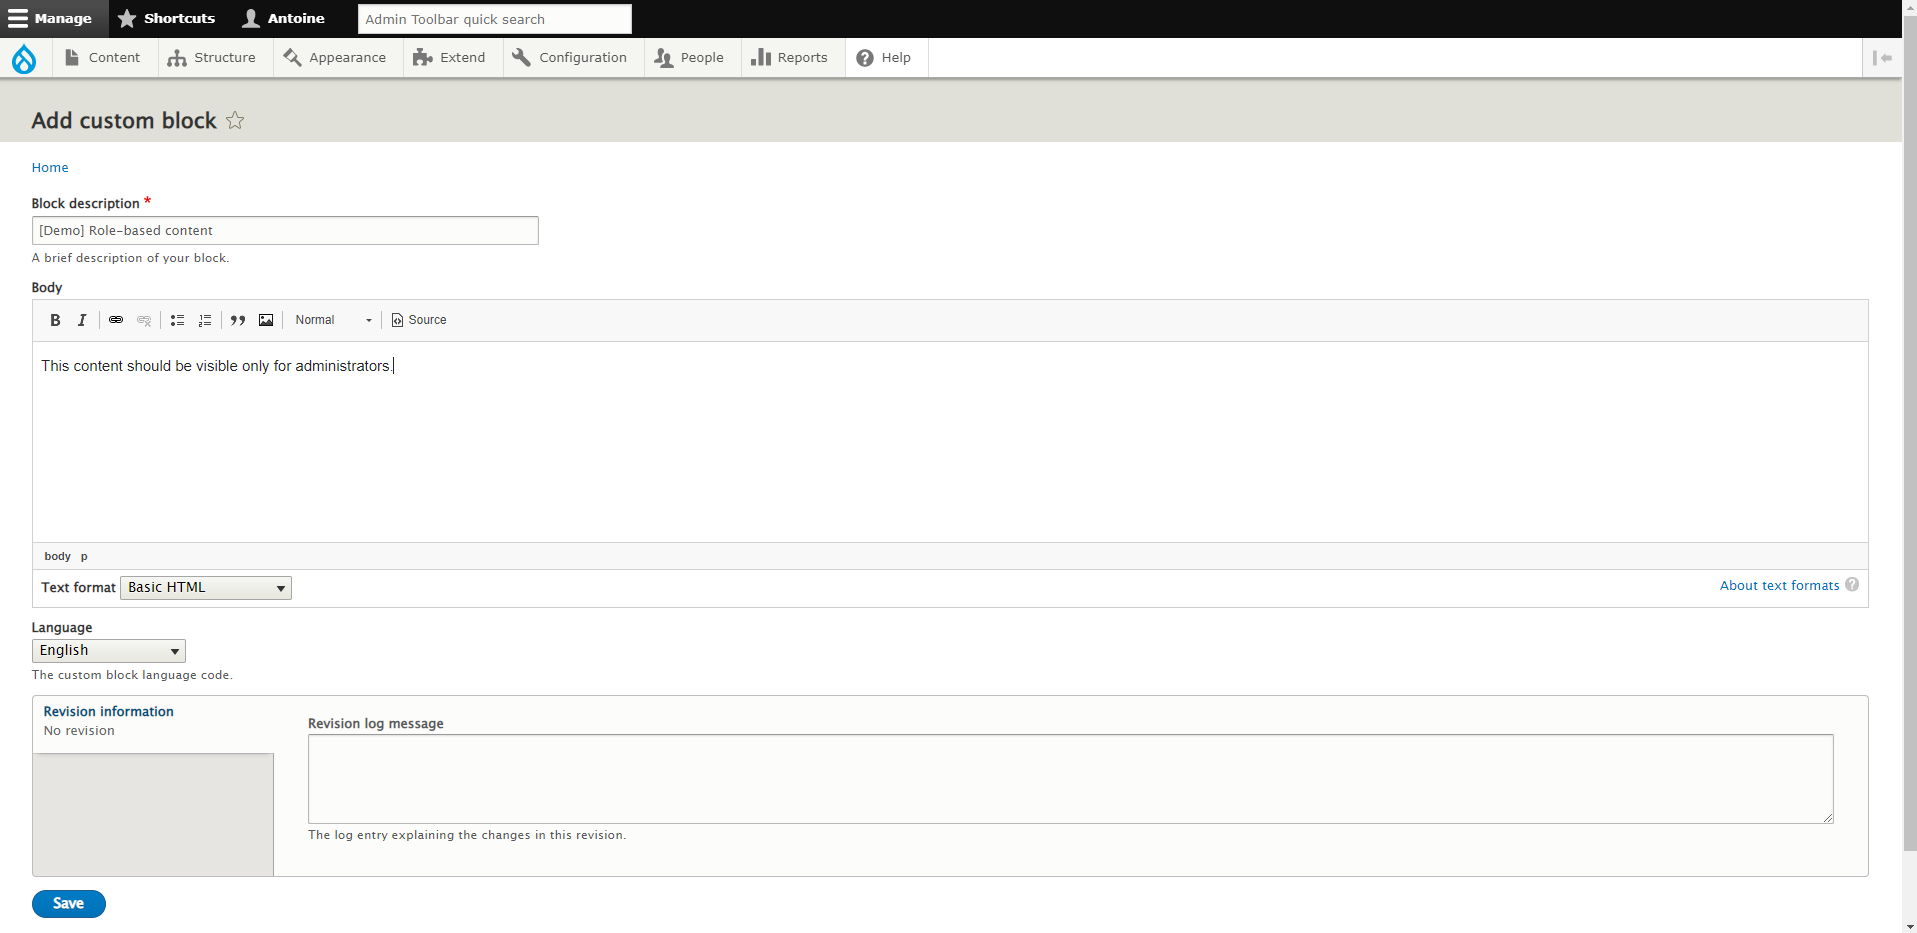
Displaying role-based contents with a block
The same way you can limit the access to a webform to specific roles, you can also display role-based contents using a Custom Block.
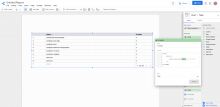
Go to "Structure > Block layout > add custom block" to create a new block in which you'll add your content specific to one or several roles.
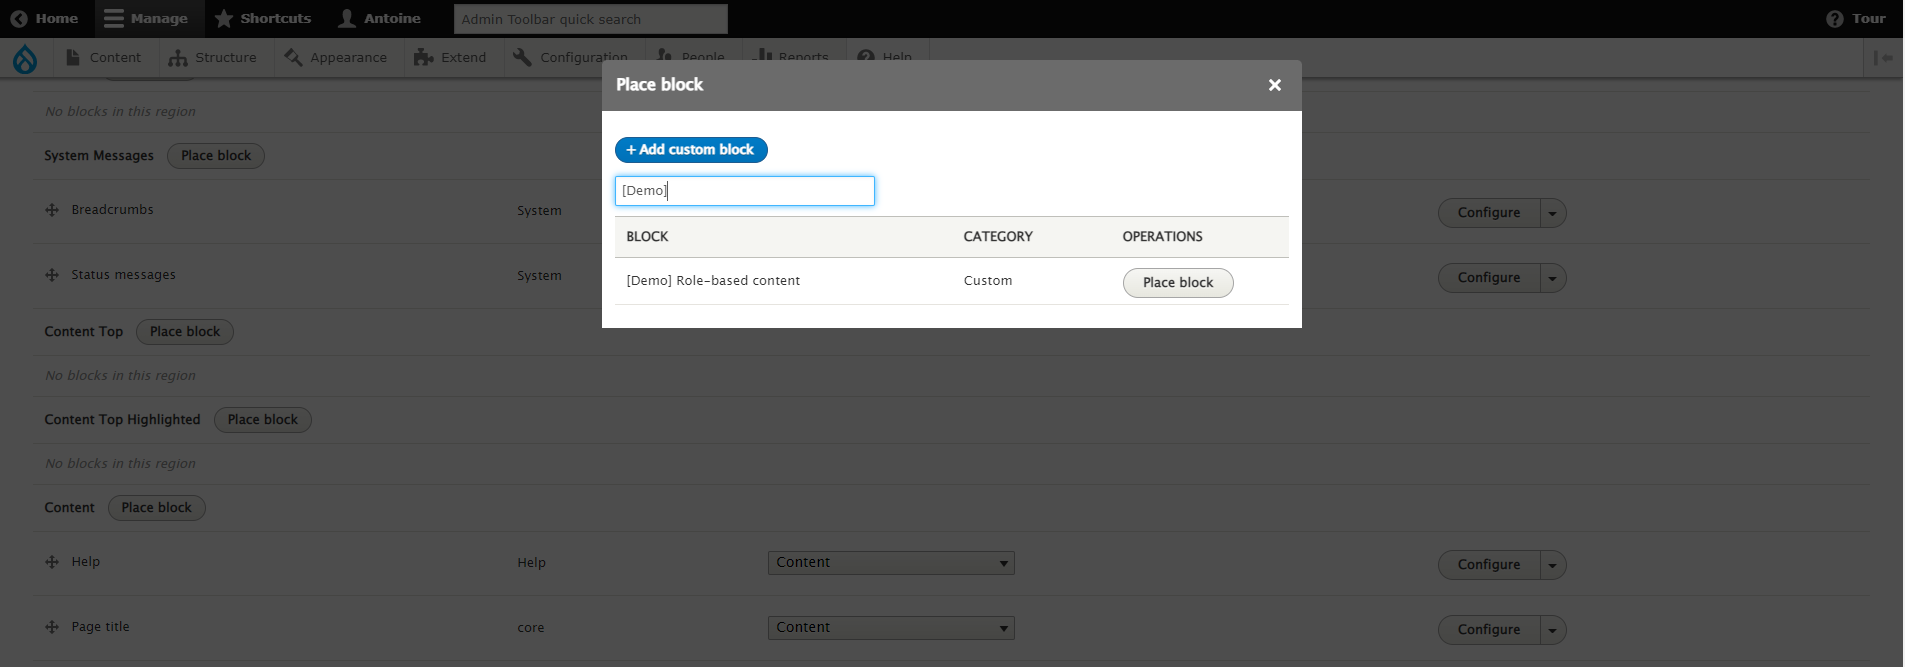
Go to "Structure > Block layout" and click on the "Place block" button of the section you want to add your content (if you want it in the central part of your website, click the "Place block" button of the "Content" section).
Select the Custom block you have just created.
In the "Roles" tab, select the roles you want the block / content to be visible for.
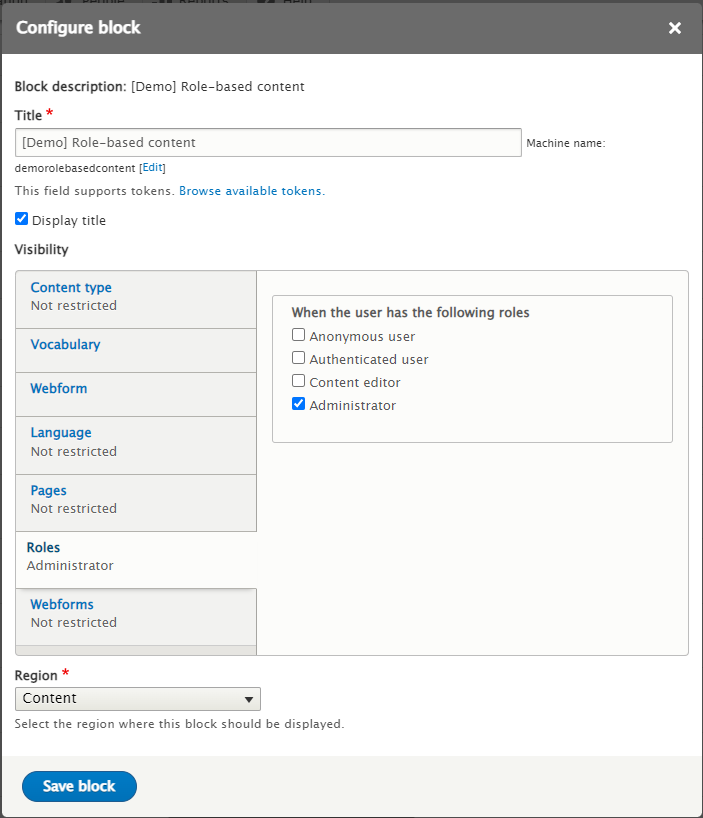
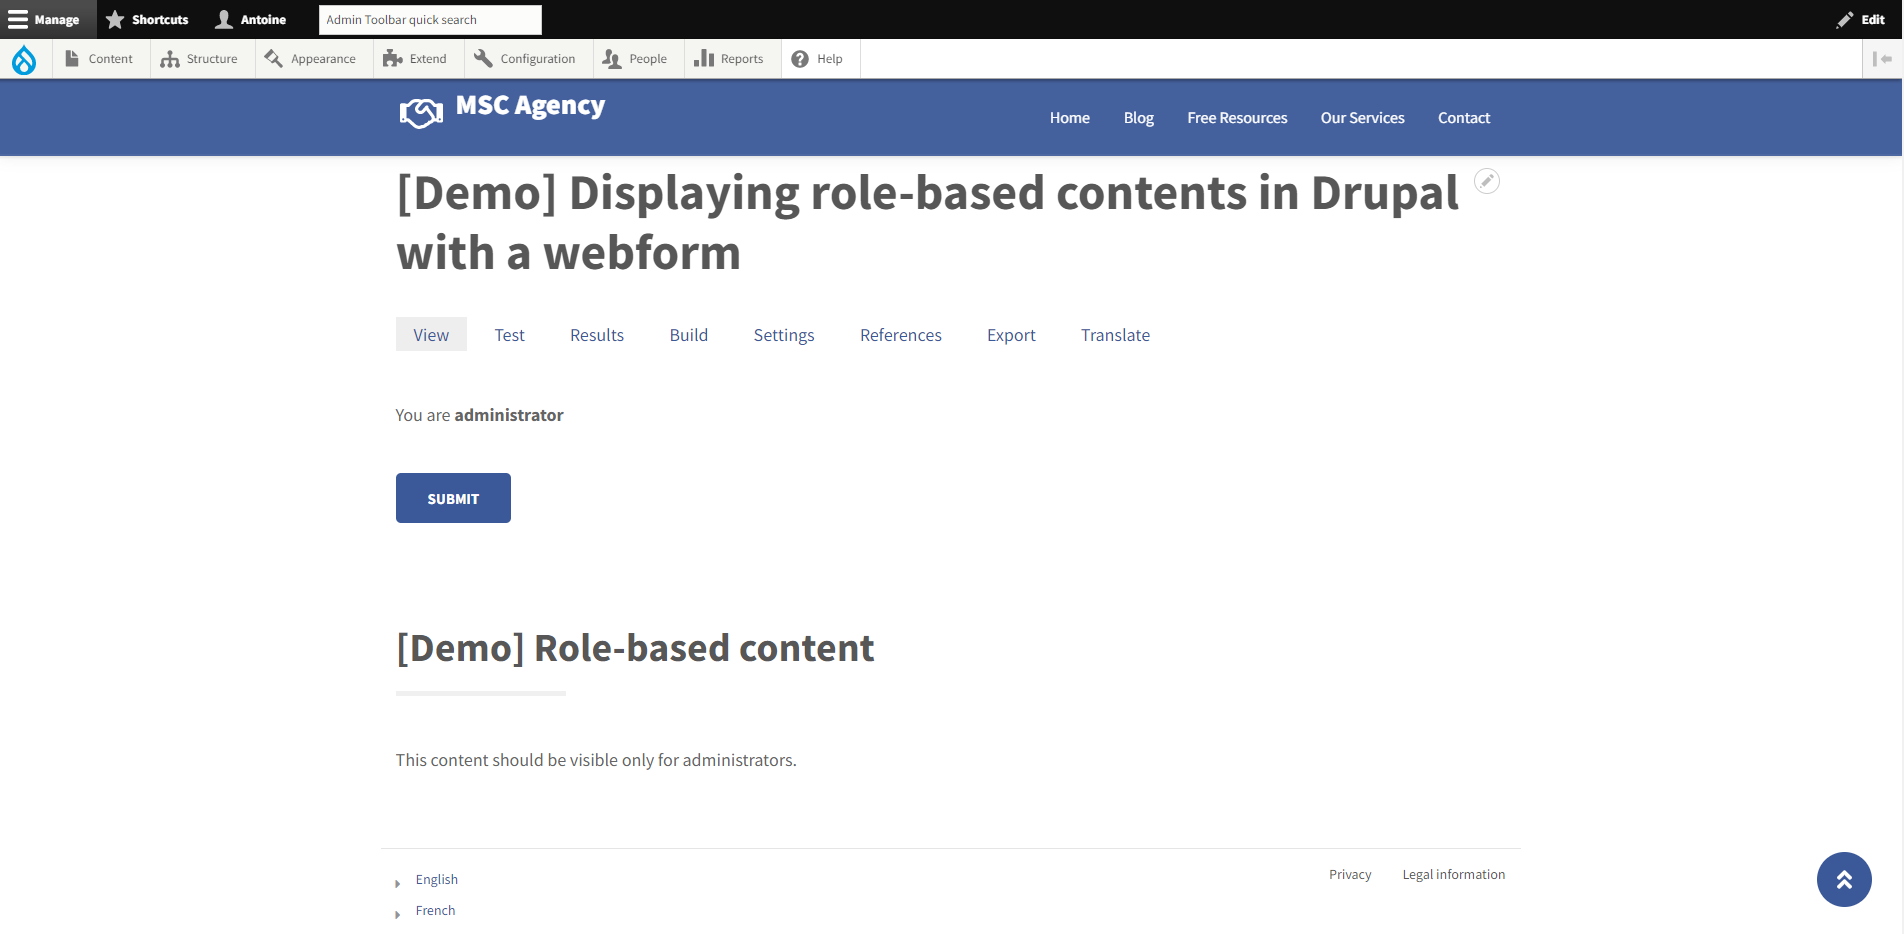
The block content should only be visible to the roles you have selected.
Conclusion
There are various methods to implement role-based contents in Drupal.
We have presented the 3 main ones (according to us), but it exists many more ways to do, particularly if you know how to use Javascript and jQuery...
For exemple, you could also use Google Tag Manager to implemented your specific contents: you create a variable (or a <div> from which you get the visitor role, as explained at the beginning of the article) and you call it from a script you implemented on all (or specific) pages of your website with GTM.
We hope this article will be usefull for some of you!